Temperature
Cold chemicals or a cold surface give poor mixing, low yield and weak adhesion.
Respecting the DIYer
Two-part spray foam kits are sold at every big box store, and plenty of handy homeowners have used them successfully. We won't pretend otherwise. For small, contained jobs, such as sealing a few rim joist bays or a patch in a crawl space, a kit can be a sensible choice, and it saves you the job minimum that a professional crew has to charge to bring a rig to your door.
Where kits get into trouble is scale and conditions. The label on the box promises more coverage than most people actually get, the chemicals are sensitive to temperature, and the safety gear needed is more serious than a dust mask. On anything larger than a small area, the cost per board foot often ends up close to professional pricing, with far more risk.
This guide from the certified installers at Super Sprayers compares kit coverage and cost with professional installation, lists the jobs where a kit makes sense, explains the most common DIY failures and covers the safety gear you'd need. It also covers the other DIY options, like canned foam and rigid board, that are often a better fit for small jobs and far more forgiving of mistakes.
Kits are labelled in board feet, such as 200 or 600, which assumes perfect conditions and a perfectly even 1 inch layer. In practice, uneven surfaces, overspray, cold chemicals and learning the gun mean most DIYers get noticeably less. Planning for real coverage well below the label is sensible.
Kit foam is also usually a lower-yield formulation than the foam professional rigs spray, and the chemicals must be kept warm for the best result.
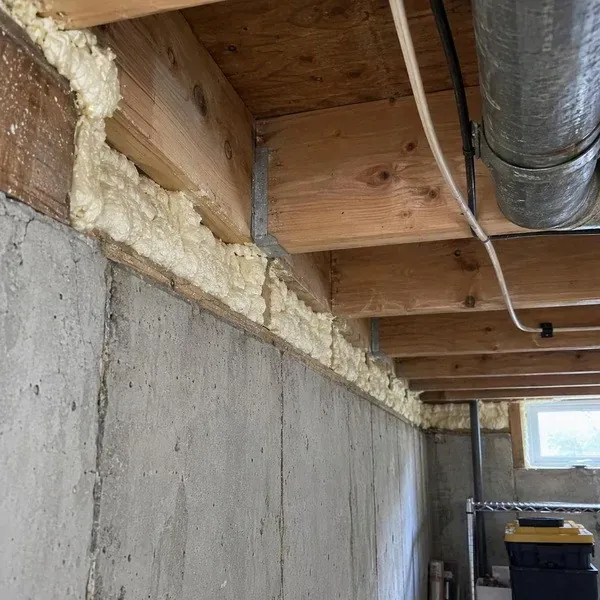
Approximate 2026 figures. Kit prices vary by brand and retailer, so check current prices before comparing.
| Option | Approx. cost per board foot | Notes |
|---|---|---|
| DIY kit (label coverage) | Often similar to professional pricing or more | Before safety gear and real-world losses |
| DIY kit (real-world coverage) | Higher than the label suggests | Depends on skill and conditions |
| Professional closed cell | $1.65 to $2.65 installed | Includes labour, prep, cleanup and warranty |
The job minimum is what usually makes a kit cheaper, so kits win on very small areas and lose on larger ones. See our cost guide.
Cold chemicals or a cold surface give poor mixing, low yield and weak adhesion.
A partly blocked nozzle or uneven tank pressure throws off the mix, leaving soft, smelly foam.
Spraying too thick in one pass causes heat build-up, shrinkage and odour.
Foam left exposed in living or storage space needs drywall or a listed coating.
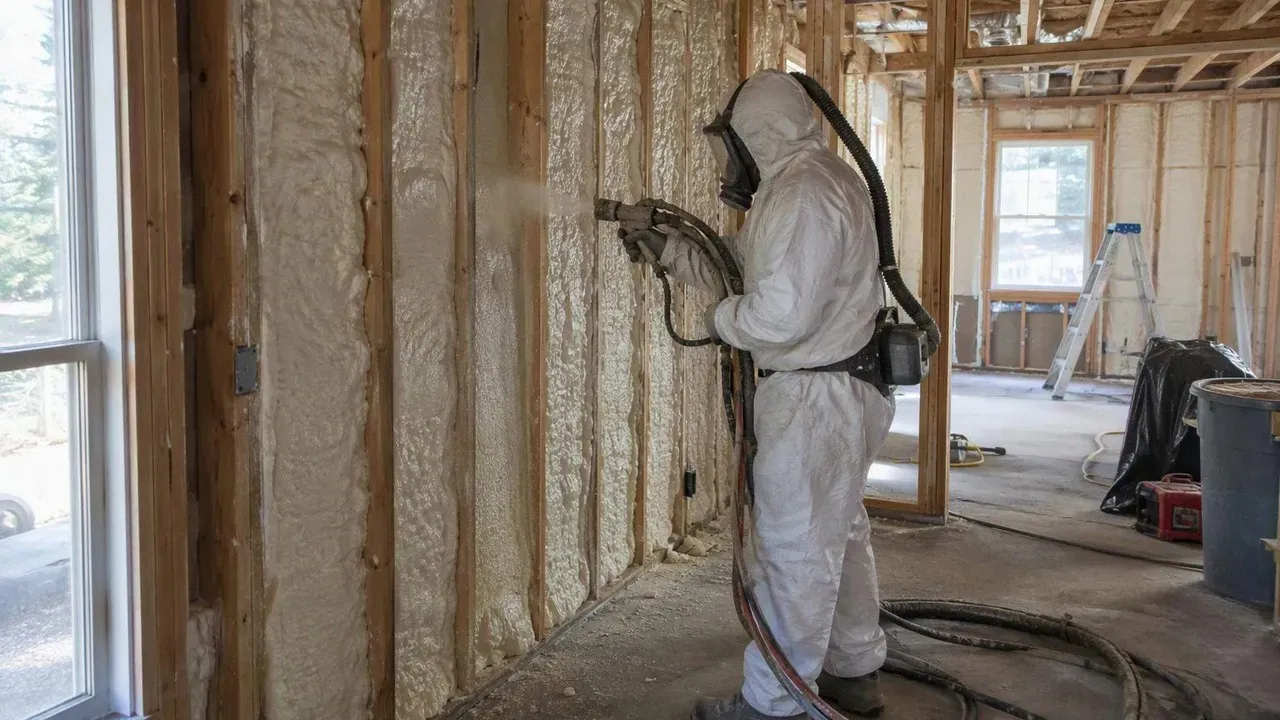
The chemicals in two-part foam can sensitize your lungs and skin, and the effect can be lasting. Follow the kit maker's instructions exactly.
One-part foam in a can is ideal for sealing individual gaps around pipes, wires and windows. It's not meant for filling cavities.
Foam board cut to fit each rim joist bay and sealed with canned foam is a proven DIY method. It's slower, but safe and effective.
It can be on small areas in good conditions. On larger jobs, professional rigs control temperature and ratio far better, which is where most DIY failures come from.
Multiply the total length of rim joist in feet by the height (usually about 1 ft) and the thickness in inches. For example, 150 feet of rim at 2 inches is about 300 board feet, before real-world losses.
Free estimate
Send the size of your project and we'll give you a written price you can compare with a kit.